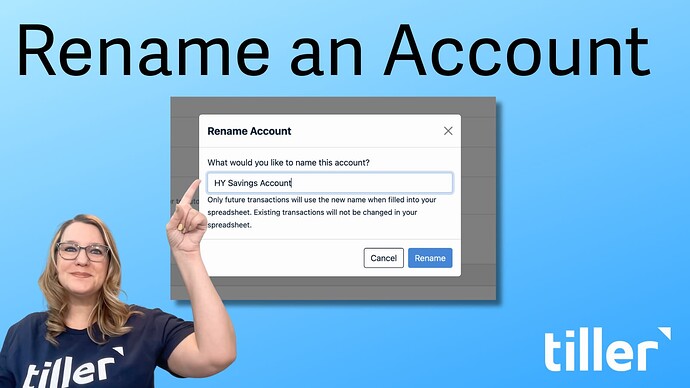
A Quick Tip: Personalize Your Spreadsheet by Renaming Accounts
Hey everyone!
Here’s a quick tip that I’ve found makes a huge difference in how clear my Tiller spreadsheet feels.
When Tiller first syncs your accounts, it pulls in the official bank name, which is often something like “e-FREE CHECKING (123-456).” While accurate, it’s not always easy to read at a glance and can feel a bit impersonal.
By giving your accounts custom names, you make your spreadsheet easier to scan and more connected to your actual goals. It’s a simple way to gain financial clarity.
Here’s exactly how to do it:
- Go to the Tiller Console at my.tiller.com.
- Scroll down to find Connected Accounts.
- Find the account you want to rename in the list.
- Click the Edit button to the right of the account name.
- Select Rename Account from the dropdown menu.
- Type your new, preferred name in the box and click the blue Rename button.
That’s it! Just a heads-up, this change only applies to new transactions that flow into your spreadsheet. Existing transactions won’t be changed.
Need some inspiration? Here are a few ideas to get you started:
-
For Everyday Spending (Checking Accounts)
- Chase Checking
- Joint Bills Account
- Personal Spending
- Household Expenses
-
For Savings Goals
- Ally High-Yield Savings
 House Down Payment
 Emergency Fund
 Italy 2026!
- New Car Fund
-
For Credit Cards
- Amex Gold (Groceries/Dining)
- Chase Sapphire (Travel Card)
 Business Expenses
- Amazon Prime Card
-
For Investments & Retirement
- Fidelity Roth IRA
- Vanguard Brokerage
 Long-Term Investments
- Kid’s 529 Plan
What are some of the clever or useful account names you use?
-Alice
Tiller Evangelist
